Dark Willow Support Playbook
Dark Willow Guide by Rivals

Dark Willow
Summary
This playbook explains how to execute Dark Willow support effectively in Patch 7.40c within structured Rivals matches. Dark Willow wins through layered disables, controlled burst windows and disciplined positioning. You control space first, then secure kills.
Step 1: Control the Lane Through Threat
Objective: Establish kill pressure without overcommitting.
Starting Setup
Starting Items


Lane Rules
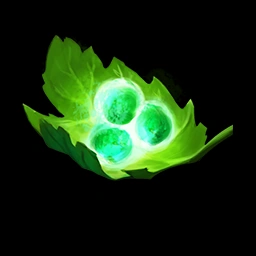
- •Start with Bramble Maze for early zoning.
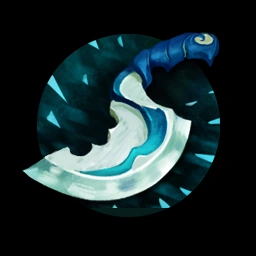
- •Use Shadow Realm to trade safely.
- •Place Brambles in choke points, not randomly.
- •Maintain mana discipline for combo potential.
If the enemy steps into a narrow path, pre-place Bramble Maze before engaging.
Step 2: Skill Progression
Skill priority
- 1.Max Shadow Realm first.
- 2.Max Bramble Maze second.
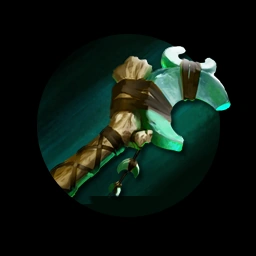
- 3.Take value in Cursed Crown.
- 4.Ultimate at 6 / 12 / 18.
Why Shadow Realm first: It provides safe harassment and scaling burst damage.
Why Bramble second: Improves area control and teamfight utility.
Cursed Crown acts as your delayed stun setup tool.
Step 3: Core Combo Execution
Primary lane combo
- 1.Place Bramble Maze.
- 2.Cast Cursed Crown on a nearby target.
- 3.Position to force movement into roots.
Mid-game burst combo
- 1.Activate Shadow Realm.
- 2.Charge full duration for maximum damage.
- 3.Attack at peak charge.
- 4.Immediately follow with Bedlam while staying close.
Do
- ✓Use terrain to funnel enemies into Brambles.
- ✓Activate Bedlam when you can remain in close range safely.
Don't
- ✗Place Brambles in open areas with no path restriction.
- ✗Cast Shadow Realm and attack immediately without charging unless necessary.
Step 4: Ultimate Usage
Bedlam is your primary burst tool.
Use Bedlam
- •During pickoffs.
- •After allies provide lockdown.
- •In close-range skirmishes.
Use Terrorize (when chosen)
- •Reset fights.
- •Break enemy formation.
- •Create disengage windows.
If you cannot safely stay near the target, delay Bedlam activation.
Step 5: Core Item Timing
Early
Early Game


Core
Core Setup

- •Eul’s enables: Guaranteed Bramble setup, Self-save, Stun layering.
- •Blink enables: Surprise initiation, Reliable combo execution, Backline access.
Situational
Extensions


Prioritise survivability if facing heavy jump threats.
Step 6: Mid-Game Execution
Between 15 and 35 minutes, your burst is lethal.
Checklist
- •Play from fog.
- •Blink → Bramble → Cursed Crown.
- •Eul’s target and pre-place Brambles underneath.
- •Shadow Realm charge before committing to burst.
- •Follow allies’ stuns rather than starting alone.
If you die before casting spells, your teamfight value collapses.
Matchup Awareness
Strong Versus
- •Physical damage carries reliant on armour.
- •Melee heroes vulnerable to roots.
- •Low mobility cores.
Struggles Versus
- •Silence-heavy heroes.
- •High mobility blink heroes.
- •Spell reflection mechanics.
If facing global silence threats, prioritise positioning and defensive items.
Power Spike Timeline
Bedlam unlocks solo kill threat.
Eul’s Scepter enables reliable combo execution.
Blink + Eul’s allows consistent pickoffs.
Your impact scales into late game due to control layering.
If You're Losing, Do This
- 1.Stop initiating blind.
- 2.Play defensively around vision.
- 3.Use Brambles to defend high ground.
- 4.Focus on counter-initiation.
- 5.Build defensive utility before damage upgrades.
Dark Willow can stall games through area denial.
Do / Don't Summary
Do
- ✓Layer Bramble Maze before Cursed Crown.
- ✓Fully charge Shadow Realm for burst.
- ✓Use Eul’s for guaranteed setup.
- ✓Play from fog.
- ✓Coordinate Bedlam with team lockdown.
Don't
- ✗Engage alone without vision.
- ✗Waste Shadow Realm early in fights.
- ✗Place Brambles randomly.
- ✗Overcommit into silence-heavy lineups.
- ✗Stand in front during teamfights.